3 ways to optimize your images for your website
You probably don’t know that, but the huge picture on the header of this post has 66kb. Usually, when you save a photo in Photoshop or Canva or Affinity Photo, you will get the best quality possible and that’s a big problem if you decide to upload that file to your website.
Most people don’t know that or prefer to ignore this fact but if you don’t optimize your images it will hurt the speed of your website.
How do you know if you have this problem?
First:
Visit Google PageSpeed Insights
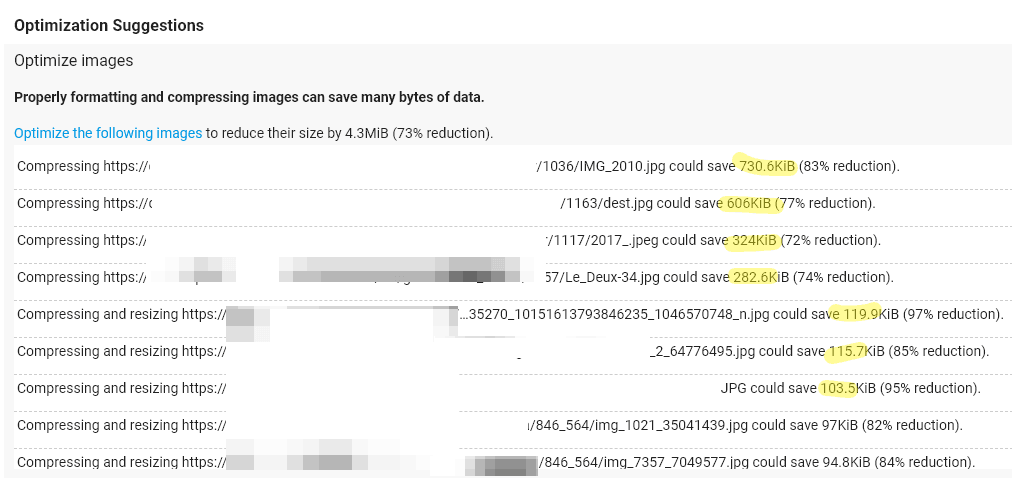
Then you’re going to receive a report about your website and some suggestions of how to make it faster. Most of the suggestions are for tech-savvy people, but there is ONE that’s for everyone (the Optimize Images).
Look how big they are: 730kb, 606kb! Ouch!

1 | optimize the images using Online Tools
The little panda that will eat your images and make them small.
Click on the “Drop your .png or .jpg files here!”
And simple as that! It’s done! Now the image has 26.2kb. Awesome, eh?


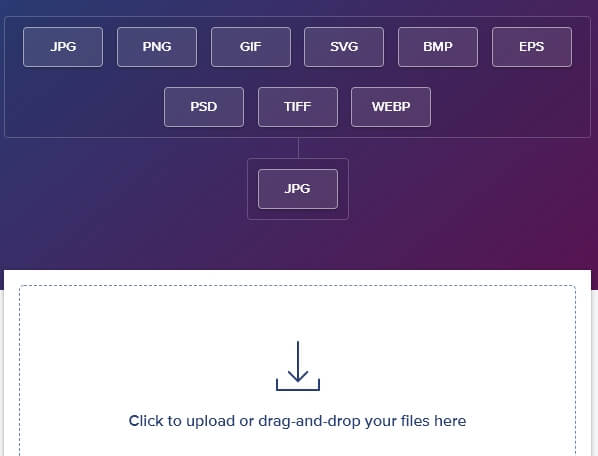
This is where I go if I need to convert a Jpg file, works the same way as Tinypng, but on this one you can convert other files to jpeg.
Tip: If I don’t like the size, I go from one tool to another until I get a good size without lose too much quality. Always saving different name files, and then I choose the nicest one.
2 | The plugin
If you have a well-established website full of huge photos and you just don’t have time to re-size everything, fear no more, there is a nice solution!
They have a Free Trial that if you have a LOT of photos, I advise you to try. Then you can smush all the photos at once. It will take a long time, but the result is amazing. The free version only lets you smush 50 images at a time.
3 | Save for web and devices
All you need to do is choose the right sets for exporting. The first thing you will need to do is find the correct size for your file. Sometimes the photo is so big that’s impossible to shrink, so to make your life a little bit easy, here are some links to find the correct size for each thing you’ll need.
I know, I know. Boooring!! ![]() I usually create templates files to each size I need, so I only need to create a new layer and hide the others.
I usually create templates files to each size I need, so I only need to create a new layer and hide the others.
Photoshop & Illustrator
Never use Save as…
The best practice here is File>Export> Save for Web (Legacy)
Then, you’re going to see 4 tabs [ original, optimized, 2-up and 4-up]
In Photoshop, click on the 4-up and you will see the original and 3 suggestions for optimization.
In Illustrator, click on the 2-up and you will see the original and 1 suggestion for optimization.
Click on the 2nd square and on the right side, and change the quality from 72 to 60.
Save your image.
You can always optimize more using the online tools.
Important: If you are saving this image for Facebook, change the Preset to PNG-24. Then, leave with the best quality ever because Facebook will make any jpg looks like garbage.

